S3 (Amazon Simple Storage Service) buckets provide object/file storage through a web service interface. Conveniently, all management from creation, upload/download and deletion can be handled through Amazon’s provided API services.
Install Boto
To get started, you will need to install Boto – which is the Amazon Web Services (AWS) SDK for Python. We’ll assume you have a working Python 3.x environment. With such install boto with:
pip install boto
Obtain and configure your AWS access id and key
To interact via script with AWS, access must be credentialed with your AWS access_id and access_key. Doing so simply involves creating a ‘credentials’ file in your home directory.
Obtain your id and key by
Log into your AWS account
Click your Name/Profile >>  'My Security Credentials' >> 'Access Keys'
Create your credentials file at ~/.aws/credentials (C:\Users\USER_NAME\.aws\credentials for Windows users). Copy ‘n paste the following lines into the file and replace the values with your id and key. Save the file.
[default]
aws_access_key_id = YOUR_ACCESS_KEY_ID
aws_secret_access_key = YOUR_SECRET_ACCESS_KEY
Cool! Let’s write some code.
Next, we’ll create a bare-bones script that creates a S3 bucket, pushes a data file to the bucket and then exposes a URL where one can download the data file via browser or command-line HTTP GET (curl, wget, etc).
Open s3_bucket.py with your editor or IDE. Place the following lines within:
import boto3
import uuid

# instantiate the client object
# note boto3 looks for access keys in ~/.aws/credentials - which we just set up or exported environment variables
s3client = boto3.client('s3')

# we need a unique name for our bucket, uuid4() will suffice
#
bucket_name = 'our-bucket-{}'.format(uuid.uuid4())
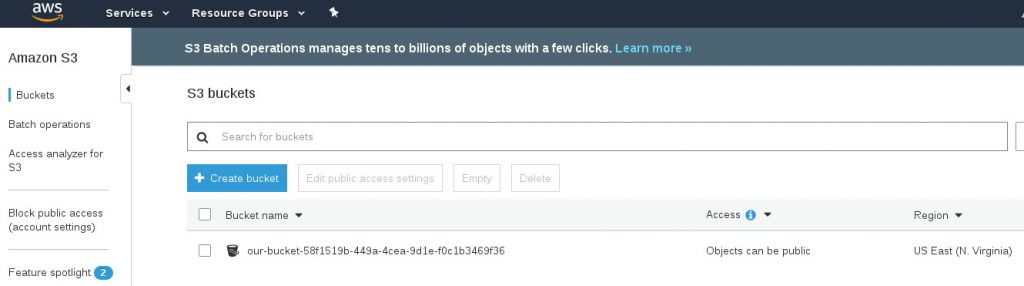
Create the S3 bucket by running the script. After the script exits, a quick-look at the AWS Services >> S3 tab in your browser will show your newly created bucket.
Check it out.
Go ahead and delete the bucket by checking the checkbox and clicking Delete.
Let’s upload a file, download it, then clean-up.
Here’s the completion of the script. Create a file named ‘data.txt’ in your working directory with some data in it. This will be the file that is uploaded to the S3 bucket.
After the script uploads the file, we present a URL to demonstrate the exposing of the file and the ability to download it via browser or command-line application. We then sleep for 60s to allow time to download the file. Finally, we clean-up by deleting the file and bucket.
import boto3
import uuid
import time

# instantiate the client object
# note boto3 looks for access keys in ~/.aws/credentials - which we just set up or exported environment variables
s3client = boto3.client('s3')

# we need a unique name for our bucket, we'll use boto's uuid4() function

bucket_name = 'our-bucket-{}'.format(uuid.uuid4())

print('creating bucket : {}'.format(bucket_name))
s3client.create_bucket(Bucket=bucket_name)

print("ok - let's upload our file 'data.txt' to the bucket")
s3 = boto3.resource('s3')
s3.Bucket(bucket_name).upload_file('data.txt', 'data.txt')

object_key = 'data.txt'
url = s3client.generate_presigned_url(
    'get_object', {'Bucket': bucket_name, 'Key': object_key})
print('ok - load this URL in your browser or with curl, wget:')
print(url)

time.sleep(60)

bucket = s3.Bucket(bucket_name)
print('\nemptying the bucket before deleting it')
delete_responses = bucket.objects.delete()
for delete_response in delete_responses:
    for deleted in delete_response['Deleted']:
        print('\tdeleted file: {}'.format(deleted['Key']))

print('\nand removed the bucket, clean-up complete.')
bucket.delete()
Run.
And that’s a wrap.
We download the file from the S3 bucket with wget. Note: this is a different bucket from above.
This highlights how easy it is to programatically create, manage and consume AWS resources. Happy AWSing!